
Hocus Pocus Spell Book Cake
…i put a spell on you, and now….you’re MINE.
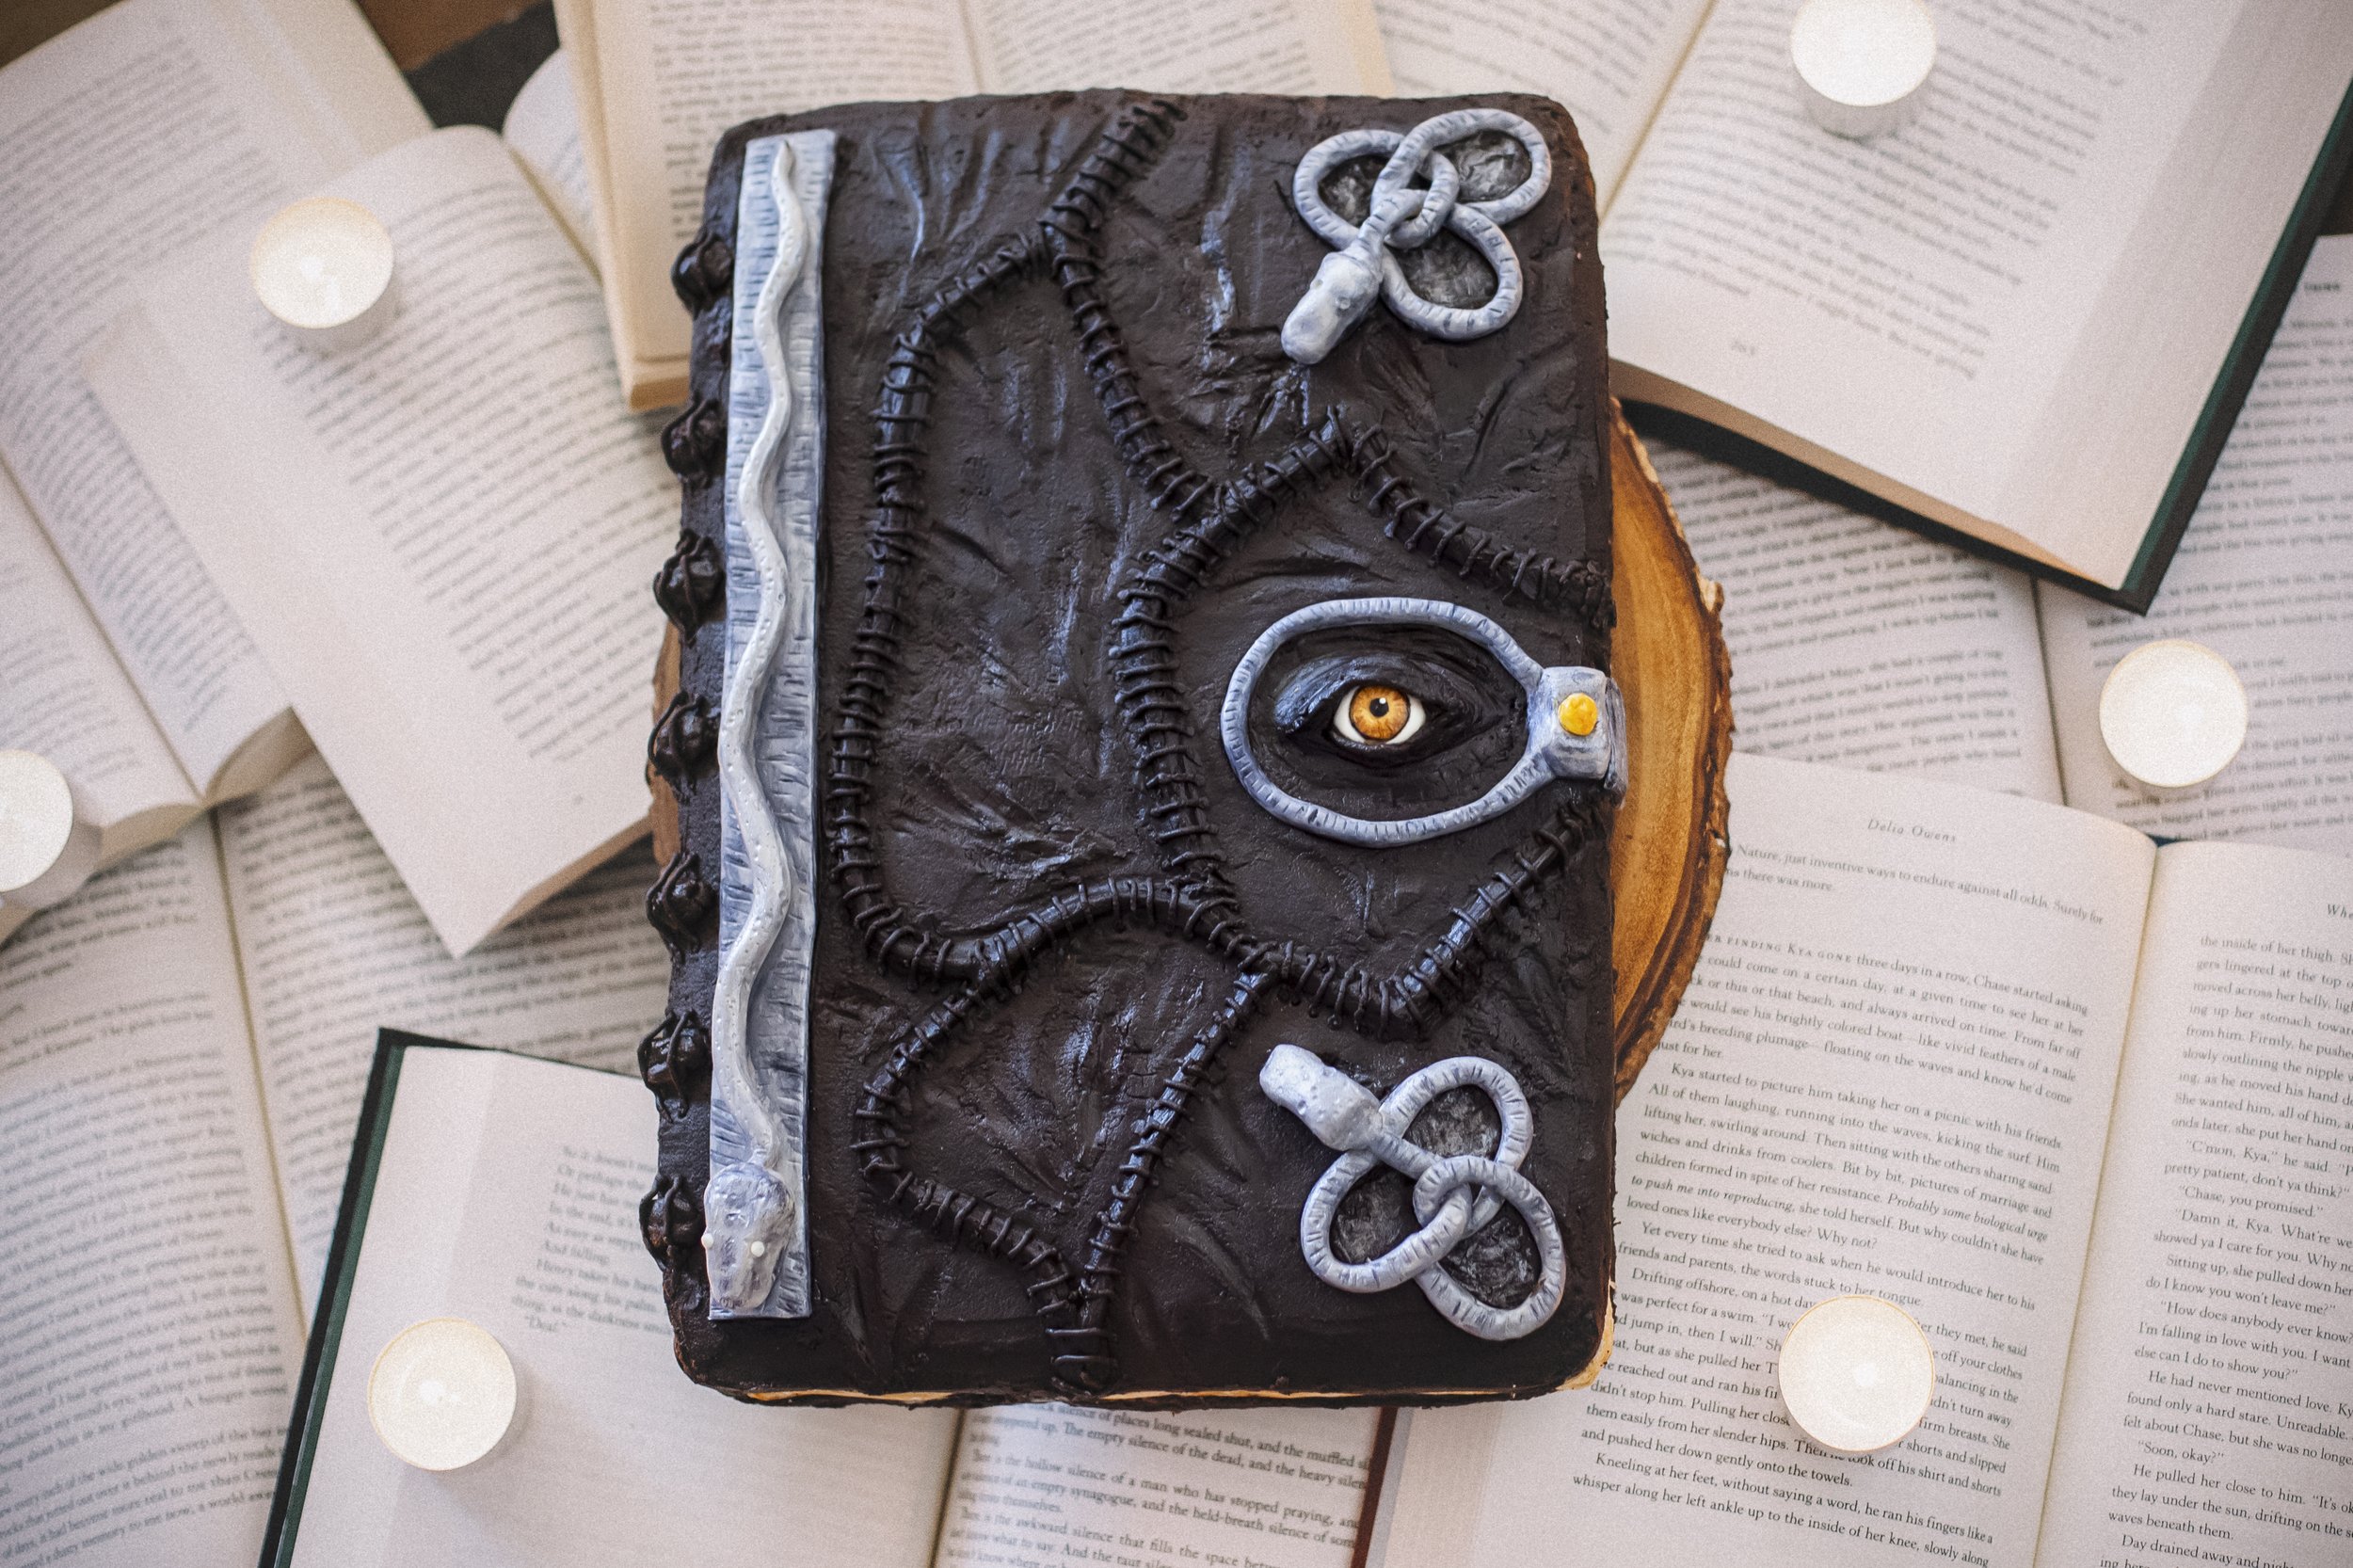
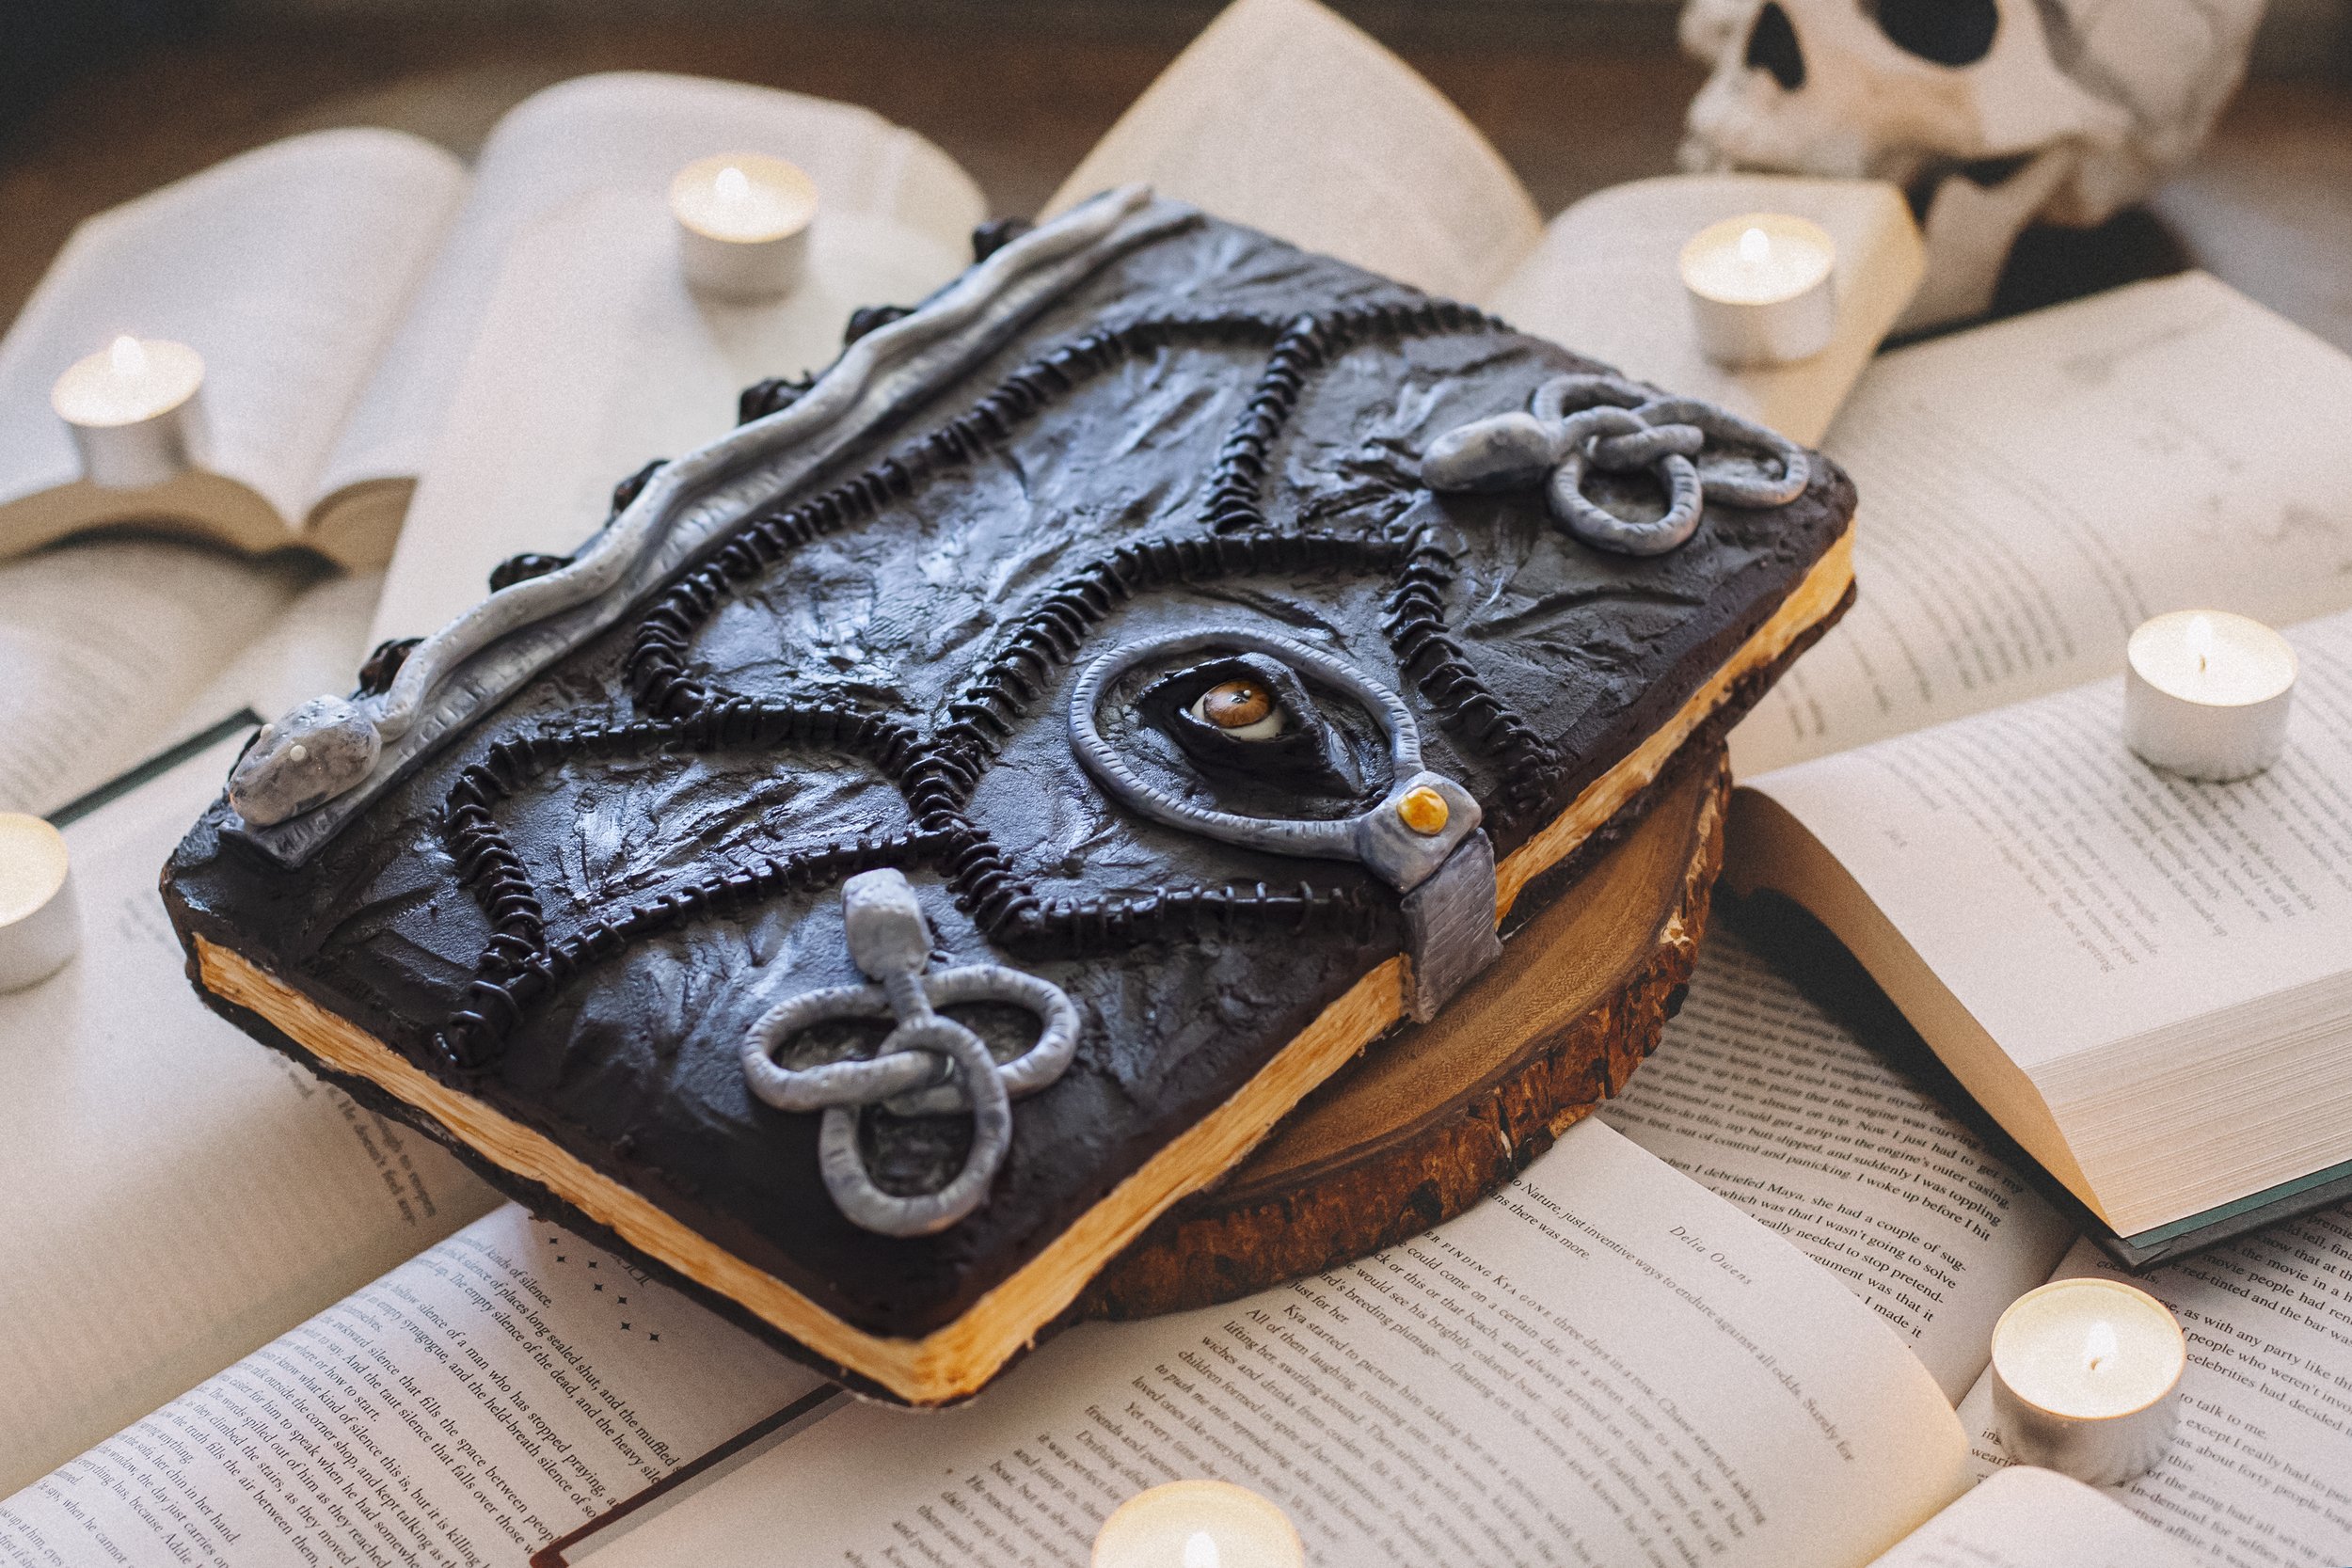
Happy Halloween, my loves! To celebrate this holiday that I love oh-so-much, I decided to make the spellbook from Hocus Pocus! Unlike Winifred Sanderson, this book was not given to me by the devil himself, nor is it bound in human skin. My book is bound in very chocolatey buttercream! Let me tell you - it’s was A LOT of work and took me about 8-10 hours to complete. At least I didn’t have to wait 300 years for a virgin to light a candle to eat it!


the basics
If I’m being honest, I’m not sure I could recreate this cake if I tried. It was a lot of tinkering with this-and-that to get the colors and textures I wanted. Instead of making this a How To (because I definitely did NOT write down my process), I’ll share some of the tools and ingredients that I used to make this edible thing of beauty. It is, in fact, 100% edible.
The Sponge: I chose to make a red velvet sponge in a 9” x 13” baking pan (I only did one layer, but I regret not doing two). I thought it would be fun to cut into the cake and see a vivid red for a “blood” effect of sorts. I used a recipe from Recipe Tin Eats, which was delicious! Scroll to the end of the post to see a video of me cutting into it.
The Frosting: First thing first - I abhor fondant. I know many find it easier, but I think it’s gross to eat, and therefore, I refuse to use it. No hate to anyone who does use it, but I am personally not a fan. I love how mine turned out, so I have no regrets about using buttercream - regardless of the extra work. I started with a very basic buttercream (here is a good one, but you’ll need to double-triple it up), and then started to add gel food coloring. I was using so much food coloring and not getting anywhere close to the color and darkness I wanted, so I busted out the cocoa powder and used A LOT of it. I had to balance it with some extra heavy cream, but eventually, I got to the depth that looked good. Honestly, I went a little TOO dark, but I couldn’t take it back.


the details
The Scars, Stitching, Binding, & Eyelid: I used the exact same batch of frosting as the main cake layer for all the book details. For the scars, I piped a thick layer of frosting and then used a small paintbrush that was damp with water to smooth out the edges and blend it with the base layer. I did the same for the binding on the left side. For the stitching, I used a smaller piping tip and took my time to go over the scarring, and then used a fluted ruffle tip for the eyelid. I also used a damp paintbrush to blend the edges into the cake.
The Eyeball: White modeling chocolate was my best friend here. It’s something I learned from Christine McConnell when I made the eyeball cookies, and that knowledge and experience came in very handy for this! For the eyeball, I just used plain white modeling chocolate and hand-painted the iris details with a small paintbrush and gel food coloring. I didn’t seal mine with clear piping gel, but you NEED to if you plan to refrigerate the cake once the eye has been placed.
The “Metal” Ornaments: I use the same white modeling chocolate that I used for the eyeball to shape all the ornaments, which took some patience. I used a screenshot from the movie as my reference, which I would recommend printing out so it’s right in front of you. Once I had the shapes nailed down, I popped them into the refrigerator for about 20 minutes to harden a bit, and then brushed watered-down black gel food coloring over it to give it some depth. Using a dry small paintbrush, I dabbed edible silver dust all over for the metallic effect. I used an embossing tool with a ball-point end to add texture to the snakes, giving it that old hammered-metal look. For the clasp around the eye and the longer piece under the snake on the left, I used a Xact-o knife and gently pressed it into the chocolate for texture. I continued to add more gel food coloring to fill in the ridging I created until I got it to look how I wanted.
The Pages: Back again with the white modeling chocolate, I pressed out a long thin length and used a dull knife to score across it for the pages. I cut out the frosting from the sides and then used fresh frosting as glue to press it into place. For the color, I used watered-down brown food coloring and a damp paintbrush.

to cut or not to cut…
The idea of slicing into this cake hurt my heart, which is why there aren’t any pictures of it here. Eventually, I decided to video myself cutting into it, which you can see below. I’m so proud of how this turned out and it’s definitely my best work so far. It’s not a beginner friendly creation, but you could easily simplify the process and still get a cake that is recognizable as Winifred’s beloved booooOOOOoook! Hope you enjoyed this post and let me know if you try to make your own!
happy haunting! xoxo
@karinadiscovers Proof it’s a cake!
♬ Season Of The Witch - Lana Del Rey